
OK, so I totally forgot that I bought these. They've been tucked away in my beauty case for many moons now and finally, with their recent re-discovery and a festive baby shower to primp for this weekend, I've decided to take them for a test drive. It's a fun set of lacquer strips designed by the funky designing diva herself, Betsey Johnson. And if you have a moment to spare, I'd love to show 'n' tell you a little about them.

My intention was not to use the peel off strips on every nail, but rather on one as an accent, like my ring finger. So, I chose a nail polish that would color coordinate well with the design, OPI's I'm Not Really A Waitress, and painted all my digits (except the one) according to the initial plan. Then I grabbed the strips.


Lacquer strips are peel off strips of nail polish that you can adhere to your nails without the fuss and muss (smudging, chipping, etc.) long associated with traditional nail polishes. There is absolutely no dry time; you just peel off, stick-on and go. They come in many colors, finishes and designs, have a reported exceptional wear time, and can be removed with polish remover. My Betsey Johnson pink and red lip strips come in a pack of sixteen (two strips for each of the eight nail sizes provided).


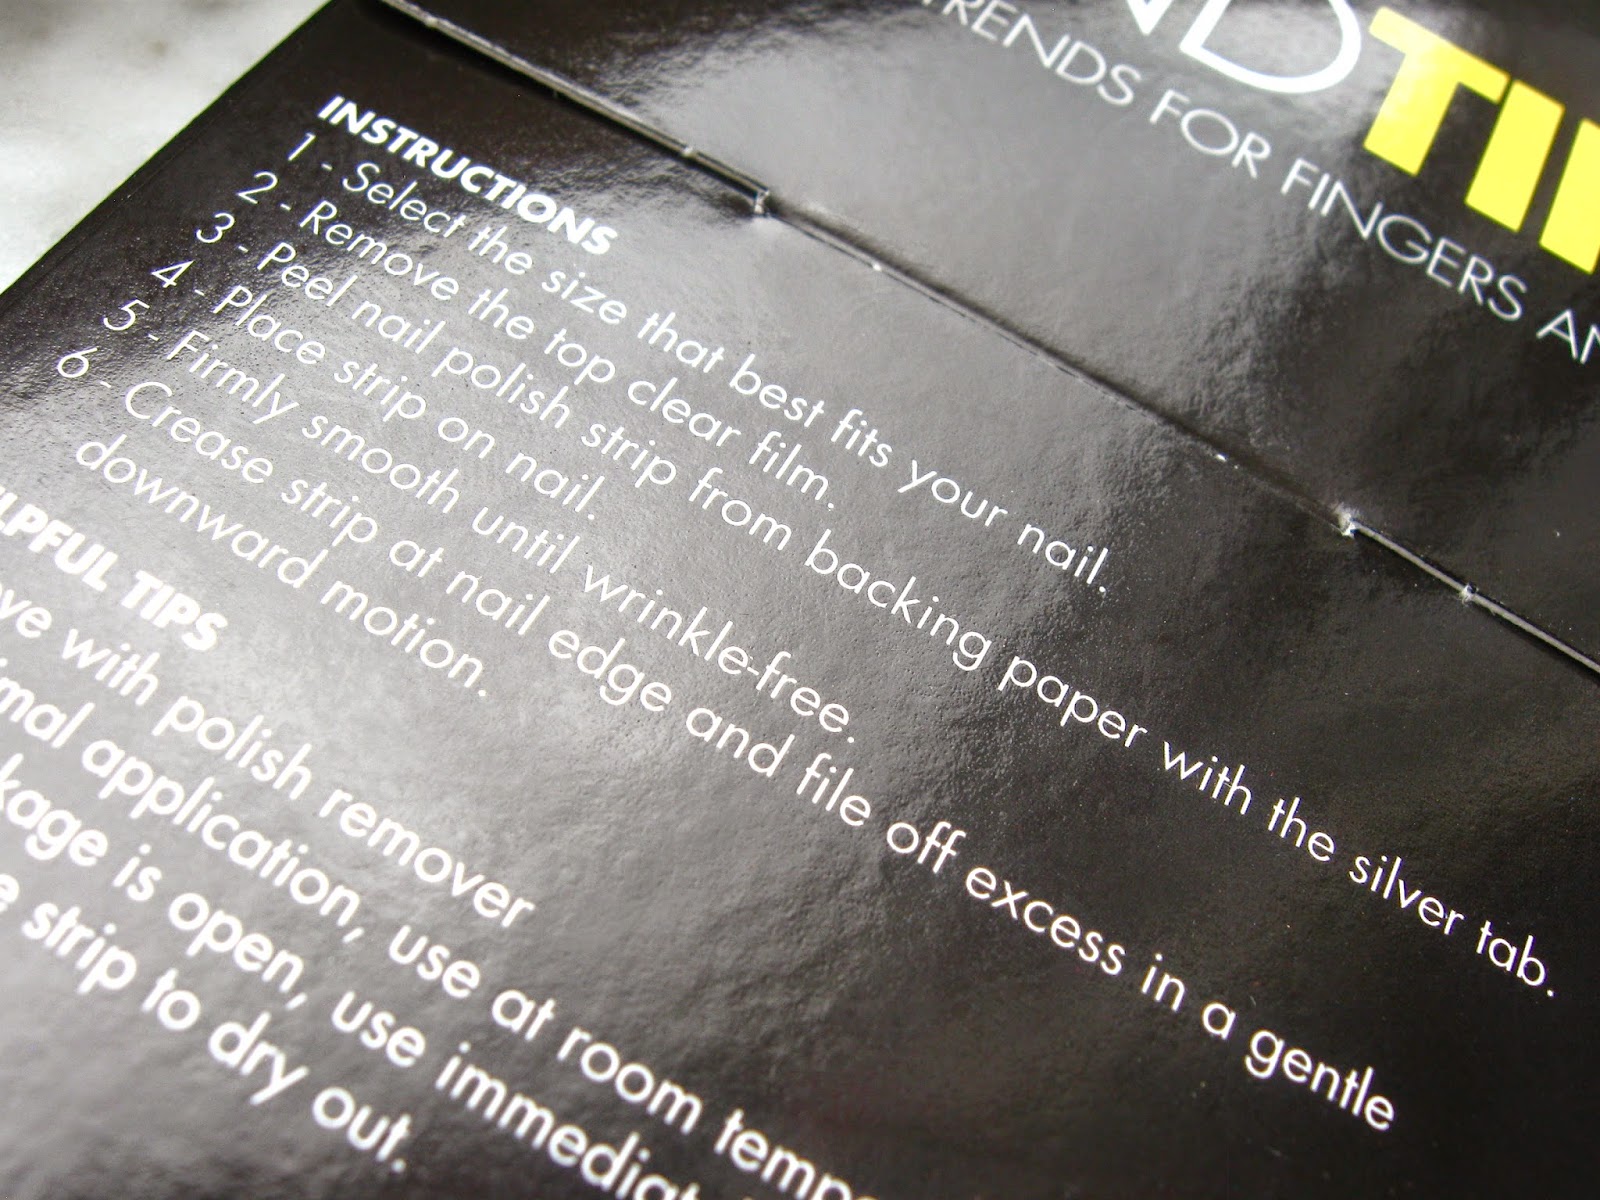
After carefully removing the clear film on the front and peeling the polish from its backing, I applied it to my nail.

Now, as soon as I set it down on my ring finger, I knew something was off. The strip wasn't adhering exactly as I had envisioned and I didn't like the look of my naked nail peering through from beneath. So I peeled it off, shellacked my nail red and made another attempt.

After using my nail on my free hand to score and remove the excess lacquer from the tip and around the cuticle, this time it looked much better. Also, it held a better grip thanks to the texture and slight tackiness of the red nail polish I applied. So, lesson number one: even if it's clear, using a traditional nail polish underneath the strips makes for better adhesion. But even after that, I still had an issue as my application was slightly off its landing mark, leaving a strip-less gap on the left side of my nail.

Unwilling to wave the white flag, I grabbed a small piece of the discarded excess and lined the design up as best as I could in the gap then edited. I think it turned out pretty good considering; I mean, you really have to put your eyeball on my digit to see the hiccup. Good save, I must say. Good save, indeed.


So, there you go - my first attempt at the whole nail-adhesive-peel-strip thing. And I like how it turned out. It was fairly quick to do and fuss-free. But my only gripe is that I feel that the strips aren't exactly as universally fitting as advertised. My ring finger needed the third largest size to cover it, which doesn't leave me many options for my larger/wider middle, pointer and especially thumb. It also means that the majority of the smaller ones will go to waste. Well, I guess I can make it work and get creative. But I'm just sayin'.
Anywho, I just applied these so I'll have to follow up with the official wear time I get out of them. But I do like 'em and find them handy. Cute, even. And I have another pack on deck that I'll be reviewing for you real soon.
Nail lacquer strips are available at various drugstores and outlets, including Sephora and Target, and range in retail from $7 - $30.
*UPDATE 6/27: True to their boasting, the nail polish strips lasted an entire week on my nails with only a tiny chip on the corner edge of one my fingers where I had done the "repair work". The lacquer did not come off, fade or budge at all until I had to forcibly remove it with nail polish remover, which took some effort. Great product + great performance = happy camper (me)!
No comments:
Post a Comment